Launching a new website is exciting until the phone stops ringing because your contact form isn’t sending, your Google rankings tank, or your SSL lock is missing and visitors see scary “Not secure” warnings.
This guide is a basic website launch checklist for small businesses that focuses on the technical stuff non‑developers usually forget—DNS, SSL/HTTPS, redirects, email, analytics, and performance. It is the same checklist the Devbo team uses when launching client sites, including our extra staging workflow where new sites live on a subdomain like dev.devbo.digital before being copied over to the final domain.
Use this as your “no‑drama launch” playbook—whether you’re launching yourself or double‑checking work your current web person has done.
Why Most Website Launch Checklists Still Miss Critical Technical Steps
If you Google “website launch checklist,” most results are solid—but they skew toward planning, design, and generic SEO basics.
What they rarely do is:
- Walk a non‑developer through DNS and SSL in plain English
- Show you how to prevent “contact form not sending email” issues
- Give a simple plan for WordPress SMTP fixes and WordPress email going to spam
- Explain redirects and 404s in a way that protects your existing SEO
- Tie everything together into a step‑by‑step launch flow you can actually follow
That’s the gap this checklist is designed to fill. Please contact us if you have any questions, we’ll be happy to help.
Who This Website Launch Checklist Is For
This guide is written for:
- Small business owners who want confidence that “nothing’s broken” on launch day
- In‑house marketers who are the default “web person” but don’t live in cPanel or DNS tools
- Technical implementers or VAs who need a clear, repeatable launch process
You’ll get:
- A plain‑English, host‑agnostic checklist
- Concrete examples for Hostinger/hPanel, cPanel, and WordPress
- A troubleshooting flow for common problems like forms not sending, SSL issues, and redirects
- Clear markers for “this is when DIY becomes risky—call Devbo”
If at any point you’re thinking, “I really don’t want to mess this up in production,” Devbo can step in and handle the technical launch for you without downtime.
Common Causes of Website Launch Headaches (The “Technical Stuff” Non‑Developers Forget)
Most small business website launch disasters boil down to the same handful of issues.
1. Skipping DNS and Domain Checks
- Domain is still pointing at the old hosting
- DNS changes made at the wrong provider (registrar vs DNS host)
- Not allowing time for DNS propagation, so some people see the old site and some see the new one
2. No or Misconfigured SSL/HTTPS
- SSL certificate not installed or not renewed
- Site loads on
http://and doesn’t auto‑redirect tohttps:// - Mixed content (images/scripts loaded over http) causing the padlock to break
3. Contact Form Not Sending Email
- Forms plugin still pointed at a test email
- Website trying to send mail using PHP mail(), which many hosts block or throttle
- Forms plugin misconfigured after a domain move, so submissions fail silently
This is where you’ll see symptoms like “contact form not sending email” or “WordPress email going to spam.” Which leads into our next problem:
4. No WordPress SMTP Setup
- WordPress using the default, unreliable mail function
- No SMTP plugin (like Fluent SMTP or Post SMTP) to send through a proper mail server. Checkout our guide on how to set up WordPress SMTP easily.
- Missing email logs, so you cannot prove messages were sent or see failures
5. Missing Redirects and 404s
- Old URLs not redirected to the new structure
- Important pages now returning 404 Not Found
- No redirect plugin or rules in place, so any link equity from the old site is wasted
6. SEO Plugin Not Configured
- No SEO plugin, or plugin installed but never configured
- Titles, meta descriptions, and XML sitemaps not set up
- Staging site accidentally indexed instead of the real domain
7. Analytics and Search Console Not Connected
- Google Analytics 4 (GA4) not added
- Google Search Console not set up, so you can’t see index or coverage errors
- No sitemap submitted, so Google discovers your site slowly or imperfectly
8. Ignoring Speed and Performance
- Massive uncompressed images from the design phase
- No caching plugin or CDN
- Basic performance tests never run, so you launch with slow, frustrating pages
If you recognize any of these on your current project, keep going—this checklist will walk you through fixing them before or right after launch.
 1")
Quick‑View Basic Website Launch Checklist for Small Businesses
Use this as your high‑level overview before diving into the step‑by‑step guide:
Infographic-style website launch checklist with icons for each key step
Pre‑Launch (On Staging, e.g., stage.yoursite.com)
This is when you’re building your site off your live domain and working on a staging domain. This isn’t relevant
- Take a full backup of files + database
- Confirm all pages, menus, and key funnels work
- Confirm all forms submit correctly and you receive emails
- Run a basic performance test (Google PageSpeed Insights / GTmetrix)
Launch (Copy to Live Domain + Go Live)
- Clone/copy site from staging to final domain (Hostinger copy or Duplicator)
- Point DNS to the new hosting and verify DNS propagation
- Install/verify SSL and force HTTPS site‑wide
- Update URLs from staging to live using a URL changer if needed
- Configure 301 redirects and test for 404s
- Install and configure Rank Math SEO
- Install and configure Fluent SMTP or Post SMTP
- Set up Google Analytics 4 and Google Search Console (via Rank Math if you like)
- Repeat form + email deliverability tests on the live domain
- Confirm analytics and Search Console are tracking the live domain
Post‑Launch (First 24–72 Hours)
- Re‑test critical pages and forms on desktop + mobile
- Monitor Search Console for coverage or HTTPS issues
- Check SMTP email logs for any delivery problems
- Re‑run performance tests and record baseline scores
Step‑by‑Step Fix Guide: How to Launch Without Breaking Anything
This is the linear flow Devbo uses internally. Work through it in order.
Confirm Your Staging Site and Take a Backup
What to check
- Your complete site is running correctly on your staging subdomain (e.g.,
dev.devbo.digital) - You can log into WordPress admin and access all pages
- You have a full backup in case anything goes sideways
How to check it
- Log into WordPress → click through Home, Services, About, Contact, and any key landing pages
- Use your host’s backup tool (Hostinger “Backups” in hPanel, or cPanel “Backup Wizard”) or a plugin like UpdraftPlus to download:
- Database
wp-contentfolder
Good vs bad
- Good: You can restore this version if something breaks, and the staging site is fully functional
- Bad: No backup, or staging still looks half‑finished
If this already feels uncomfortable, this is a great time to have Devbo take over the technical cutover so you don’t have to worry about restoring from backups.
Step 1 – Copy the Site From Staging to the Live Domain
We typically build new websites on staging domains like newsite.devbo.digital and then we copy the site to the client’s real domain via Hostinger’s built in website copy feature.
Hostinger example
- Log in to hPanel
- Go to Websites → Manage on the staging site
- Use Hostinger’s copy/clone feature (often under “Website Migration” or “WordPress → Staging/Clone”) to copy the staging site to the live domain
Other hosts (generic/cPanel)
- Install a plugin like Duplicator on the staging site
- Create a package and download the installer + archive
- Upload these to your live hosting and run the installer at
yourdomain.com/installer.php - Follow the wizard to unpack files and update database details
Good vs bad
- Good: Live domain shows the same design, content, and settings as staging (even if DNS isn’t pointed yet)
- Bad: Live site is still showing an old design or errors from a partial move
Step 2 – Will Changing DNS Break My Website?
Handled correctly, changing DNS will not “break” your website, but it can cause temporary confusion if done wrong.
What to check
- Where your DNS is currently managed (registrar vs host vs Cloudflare)
- That the A record (and possibly CNAME) for your root domain and
wwware pointing to the new hosting IP
How to check it (host‑agnostic)
- Find the right DNS zone
- At your registrar (GoDaddy, Namecheap, etc.) or
- At your host (Hostinger: Domains → DNS / Manage DNS; cPanel: Zone Editor)
- Update DNS records
- Set the A record for
yourdomain.comto your new server IP - Ensure
wwweither:- Has a CNAME pointing to
yourdomain.com, or - Has its own A record to the same IP
- Has a CNAME pointing to
- Set the A record for
- Monitor propagation
- Use a tool like dnschecker.org to check A and CNAME records
- Expect changes to start showing within minutes to a few hours (occasionally up to 24–48 hours)
Good vs bad
- Good: DNS tools show your domain resolving to the new host; your site loads the new design on multiple networks/devices
- Bad: Some users see the old site; others get errors; DNS records still show the old IP after several hours
If DNS is mission‑critical and you can’t afford mistakes, this is a smart moment to bring in Devbo so your site doesn’t flicker between old and new.
Diagram illustration of DNS pointing to a server with SSL and HTTPS padlock
Step 3 – Set Up SSL and Force HTTPS
What to check
- SSL certificate is installed and valid
- Browser shows a padlock and
https:// - All URLs redirect from
http://tohttps://
How to check it
- In Hostinger/hPanel: look for SSL under the site → issue a Let’s Encrypt certificate
- In cPanel: use SSL/TLS Status to auto‑install Let’s Encrypt
- Visit
https://yourdomain.com:- Confirm the padlock is present
- Click it to view certificate validity
WordPress‑specific steps
- In Settings → General, ensure both WordPress Address (URL) and Site Address (URL) use
https:// - Install a plugin like Really Simple SSL or use your security plugin to:
- Force HTTPS redirects
- Fix mixed content automatically where possible
Good vs bad
- Good: Every version (
http://,www, non‑www) redirects cleanly to a singlehttps://version - Bad: Visiting the
http://version doesn’t redirect, or you see browser warnings about security or mixed content
Step 4 – Configure Rank Math SEO (or any other SEO Plugin)
What to check
- Rank Math or another SEO plugin is installed and configured
- XML sitemap is generated
- Basic titles and meta settings are in place
How to set it up (Rank Math example)
- Install and activate Rank Math SEO
- Go to Rank Math → Setup Wizard:
- Choose Website Type (Business / Small Business)
- Add your business name and logo
- Under Rank Math → Sitemap Settings:
- Ensure sitemap is enabled
- Include Posts, Pages, and any important custom post types
- Check Rank Math → General Settings → Links:
- Enable Redirect Attachments to parent posts/pages if appropriate
- Connect Google Search Console and Analytics (optional but helpful):
- Rank Math can pull in data once those accounts are set up
Good vs bad
- Good: Search‑friendly structure with a working sitemap and clean titles, ready for indexing
- Bad: No SEO plugin, no sitemap, or staging URLs somehow still referenced
Step 5 – Set Up Redirects and Fix 404s With Rank Math
If this is a redesign or platform change, preserving your existing SEO is essential.
What to check
- Any old URLs that have changed
- Any 404 errors after launch
How to check it
- Make a list of important old URLs (from your old site, analytics, or Search Console)
- After launch, crawl the site with a tool like Screaming Frog or use Rank Math’s 404 monitor (if enabled)
- Identify:
- Pages that no longer exist
- URLs that now return 404
How to fix it with Rank Math
- Go to Rank Math → Dashboard → Modules and enable Redirections and 404 Monitor
- Under Rank Math → Redirections:
- Add 301 redirects from each old URL to the closest matching new URL
- Check Rank Math → 404 Monitor after launch:
- Add redirects for any unexpected 404s people hit
Good vs bad
- Good: Old URLs seamlessly redirect, visitors never hit dead ends, and link equity is preserved
- Bad: Search Console fills with 404 errors, or users report “Page not found” after clicking old links
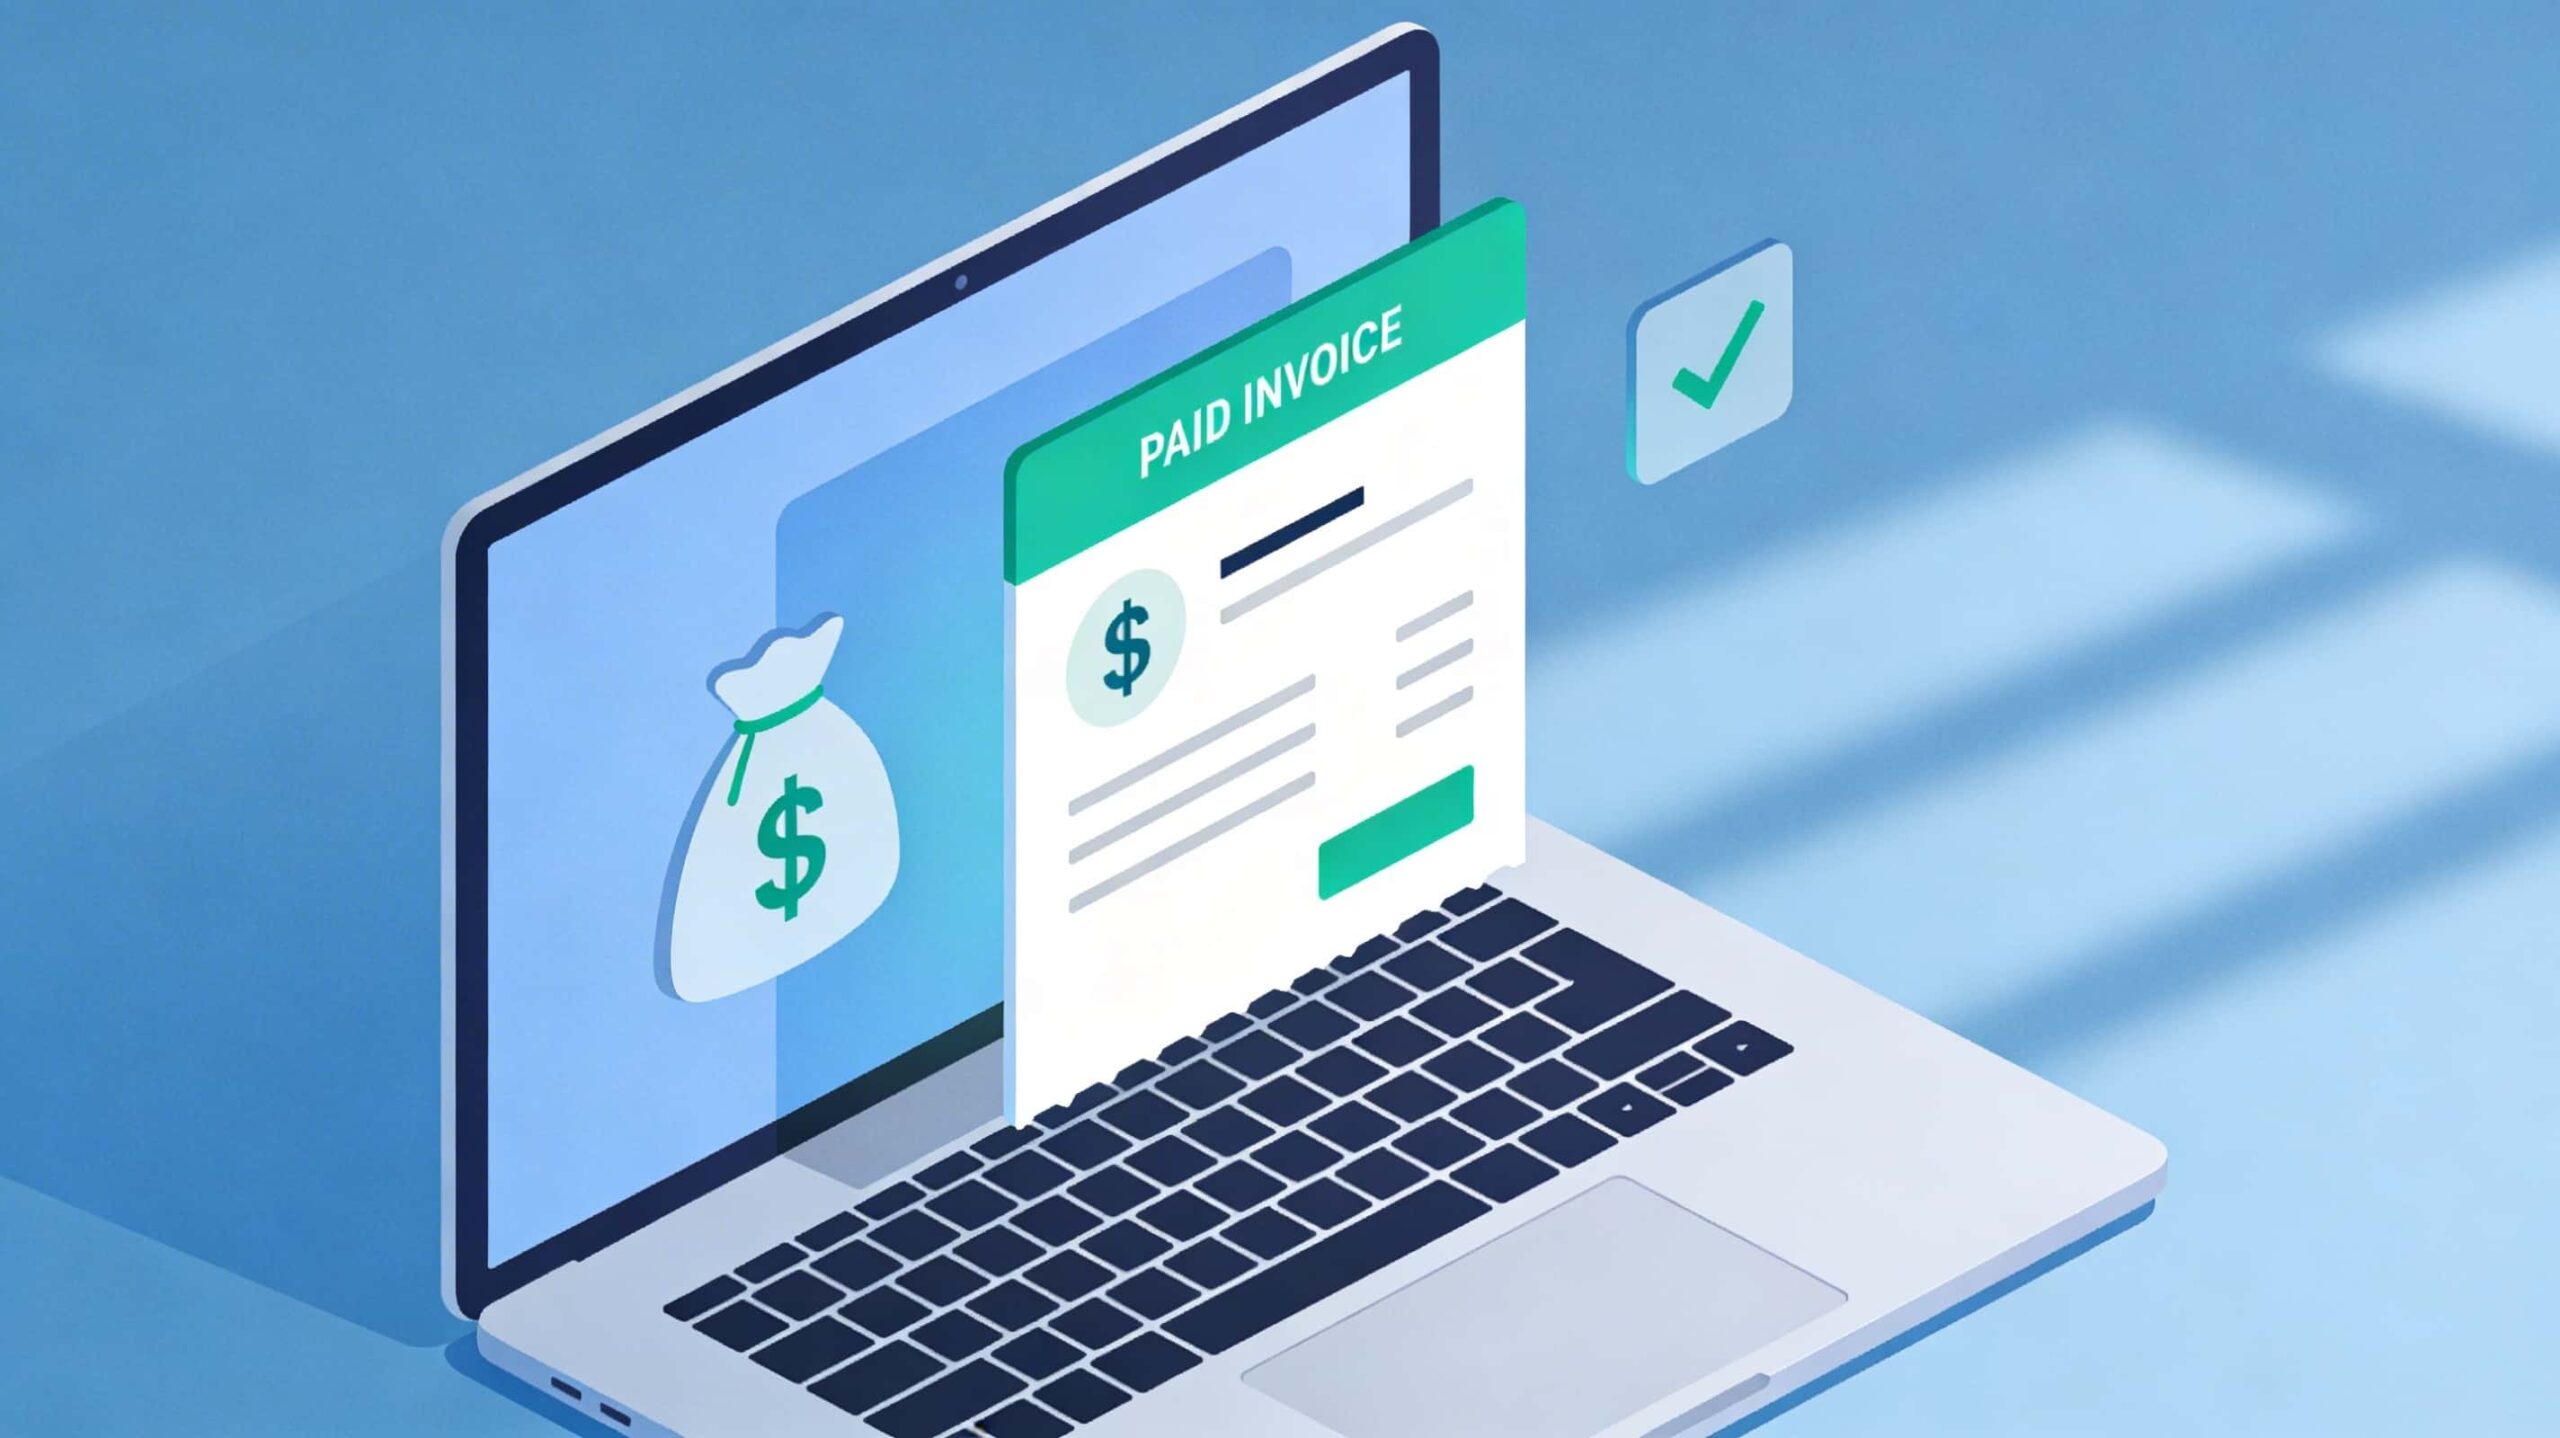
Step 6 – Fix “Contact Form Not Sending Email” With WordPress SMTP
This is the pain point that bites most small businesses.
What to check
- Forms display and submit without visible errors
- You actually receive the email in the correct inbox
- Messages are not landing in spam or disappearing
How to test it
- Go to every form (Contact, Quote Request, Booking, etc.)
- Submit a real‑looking test:
- Use your name, phone, and a message like “Test from live launch checklist.”
- Confirm:
- You see a success message on the site
- The email arrives in your target inbox within a minute or two
- The email is not in spam
If nothing arrives, or it goes to spam, move to SMTP setup. Checkout our full one error diagnosis and fixes for WordPress emails not sending.
Setting Up WordPress SMTP (Fluent SMTP or Post SMTP)
Both Fluent SMTP and Post SMTP are excellent because they include email logs, which Devbo strongly recommends.
Checkout our guide on how to set up WordPress SMTP easily.
Basic SMTP setup flow
- Install Fluent SMTP or Post SMTP via Plugins → Add New
- Open the plugin’s settings:
- Choose your mailer:
- Your host’s SMTP (Hostinger, cPanel mail)
- Or a provider like SendGrid, Mailgun, Amazon SES, Brevo, or Gmail/Google Workspace
- Choose your mailer:
- Enter:
- SMTP host (e.g.,
smtp.yourdomain.comor provider’s SMTP) - Port (often 587 for TLS)
- Encryption type (TLS/STARTTLS)
- Your authenticated email address (preferably
noreply@yourdomain.comor similar) and password/API key
- SMTP host (e.g.,
- Set the From Name and From Email to match your domain
- Use the plugin’s Send Test Email feature to verify delivery
Good vs bad
- Good: SMTP test email shows as “Delivered” in the logs and lands in your inbox
- Bad: Logs show errors, or it only works sporadically
Preventing “WordPress Email Going to Spam”
Even if messages are technically sent, you don’t want every lead in spam.
Best practices
- Use a real domain email (e.g.,
contact@yourdomain.com), not a free Gmail/Yahoo address - Set up SPF, DKIM, and DMARC records recommended by your email or SMTP provider
- Keep your email content simple for forms:
- Plain, short text
- Avoid spammy phrases and all‑caps subject lines
- Periodically check spam folders and mark legitimate emails as “Not spam”
If after SMTP setup you still see intermittent delivery or spam issues, skip to “When DIY Fixes Become Risky”—this can get deep into mail server configuration.
Illustration of WordPress sending email through SMTP to ensure reliable delivery
If your contact form is not sending emails and this section still feels overwhelming, Devbo can quickly log in, configure SMTP correctly, and make sure every form submission actually reaches you.
Also, from this section you should internally link to Devbo’s detailed troubleshooting guide on forms and email delivery (see internal linking notes at the end).
Step 7 – Connect Analytics and Search Console (Rank Math Can Help)
You want data from day one.
What to check
- GA4 is installed and tracking the live domain
- Google Search Console is verified and has your sitemap
How to set it up
- Google Analytics 4
- Create a GA4 property at analytics.google.com
- Install the GA4 tag using:
- Rank Math’s Analytics integration, or
- A plugin like Google Site Kit, or
- Manual insertion into your theme or a header/footer plugin
- Use Realtime or DebugView in GA4 to confirm hits from your live site
- Google Search Console
- Go to search.google.com/search-console
- Add a Domain property for
yourdomain.com - Verify via DNS TXT record (preferred) or via HTML upload/verification
- Submit your XML sitemap URL (from Rank Math, usually
https://yourdomain.com/sitemap_index.xml)
Good vs bad
- Good: GA4 shows active users when you load the site; Search Console accepts your sitemap without errors and starts showing coverage within a few days
- Bad: No data, verification errors, or sitemap errors that you ignore
Step 8 – Run a Basic Performance Test
You don’t need perfect scores, but you do need reasonable speed.
What to check
- Page load time for your homepage and a key internal page
- Largest Contentful Paint (LCP), Total Blocking Time, and basic mobile performance
How to test it
- Use Google PageSpeed Insights:
- Run tests for your homepage and one or two key pages
- Optionally, use GTmetrix for a waterfall view
Quick wins if scores are poor
- Compress large images (aim for under 200–300 KB each for most hero images)
- Enable caching via a plugin (e.g., WP Rocket, W3 Total Cache, or LiteSpeed Cache on LiteSpeed servers)
- Avoid stacking too many heavy page builder add‑ons and sliders
Good vs bad
- Good: Pages load quickly and feel snappy on mobile, even if your score isn’t 100/100
- Bad: Pages take many seconds to display, especially on mobile, and PageSpeed flags huge images or render‑blocking scripts
When DIY Fixes Become Risky (And When to Call Devbo)
There are clear points where most business owners and in‑house marketers are no longer getting paid to troubleshoot tech.
Consider calling Devbo when:
- DNS and domain changes feel intimidating, and your business cannot afford downtime
- You are migrating from one host to another or doing a full platform change (e.g., old HTML or Wix site to WordPress)
- You have valuable SEO on the old site and need a professional redirect plan
- You’ve tried SMTP setup, but WordPress email is still going to spam or not arriving at all
- Launch day is approaching and you don’t have time to test every path and form
- You have no idea where to start with Conversion rate optimization(CRO)
Bringing in Devbo means:
- A Florida‑based team that works with clients nationwide on WordPress, SEO, Google Business Profiles, and automations
- A repeatable, battle‑tested launch checklist (this one)
- Clear communication about what will happen, when, and how risk is minimized
If you’re worried about breaking something in production, Devbo can quietly step in, run through this checklist, and hand back a stable, fully working site.
How Devbo Solves Website Launch Problems Differently
Devbo doesn’t just press “publish” and hope for the best. The team follows a three‑part process:
1. Audit and Diagnose
Before flipping DNS, Devbo:
- Reviews your current site and URLs to map critical pages
- Audits your hosting, DNS, and email setup
- Checks for existing issues like broken SSL, slow pages, or forms already failing
2. Fix the Immediate Issues
During launch, Devbo:
- Handles cloning from staging (e.g.,
newsite.devbo.digital) to the live domain - Manages DNS changes, SSL installation, and HTTPS enforcement
- Configures Rank Math, redirects, and basic SEO safety nets
- Sets up WordPress SMTP and verifies that all forms are sending and delivering properly
3. Harden and Prevent Future Problems
After launch, Devbo:
- Implements backups, security basics, and monitoring
- Connects GA4 and Search Console and sets up simple reporting
- Optimizes for speed and stability, not just a pretty frontend
- Documents the setup so you are not locked out of your own systems
The goal is a fast, modern, high‑converting website on a stable tech stack that doesn’t surprise you with silent failures later.
Real‑World Example: A Local Service Business With a Silent Contact Form
A local home‑services business came to Devbo after launching a shiny new WordPress site on a budget host. Everything looked great—but leads had dropped to near zero.
What was wrong
- The contact form was not sending emails at all
- WordPress was using the host’s blocked PHP mail function
- No one had tested the live form after switching the domain
What Devbo did
- Audited the site and confirmed form submissions were silently failing
- Set up Fluent SMTP to send via a proper mail service
- Configured SPF and DKIM and tested deliverability to the owner’s inbox
- Added email logging so issues could be caught immediately in the future
Result
Within days, contact form leads returned to normal, and then improved as Devbo layered in basic SEO and Google Business Profile optimization. The business owner’s main regret: not checking form deliverability earlier.
FAQs About Website Launch Checklists for Small Businesses
1. What is a basic website launch checklist?
A basic website launch checklist is a step‑by‑step list of tasks you complete before and right after your site goes live. For small businesses, the critical parts are: DNS, SSL/HTTPS, redirects, SMTP/email, SEO plugin setup, analytics, and a quick performance test—not just design and content.
2. How long does DNS propagation really take?
Most DNS changes start showing within 15–60 minutes, but the official propagation window can be up to 24–48 hours depending on TTL values and ISP caching. Practically, if your records still show the old IP after a few hours on tools like dnschecker.org, something is probably misconfigured rather than “still propagating.”
3. Do I need SSL before launching my website?
Yes. You should launch on HTTPS from day one. SSL protects your visitors, prevents browser “Not secure” warnings, and is a confirmed ranking signal in search engines. It’s usually free via Let’s Encrypt on modern hosts, including Hostinger and most cPanel hosts.
4. Why is my WordPress contact form not sending email?
Common causes include:
- Your host blocking default PHP mail()
- No SMTP plugin configured
- Incorrect “From” email (e.g., using Gmail instead of a domain email)
- Plugin conflicts or misconfigured form settings
- Spam filters rejecting poorly authenticated messages
Setting up Fluent SMTP or Post SMTP and using a proper domain email plus SPF/DKIM records solves this in most cases. Checkout our guide if your WordPress site isn’t sending emails.
5. How do I fix WordPress email going to spam?
Use a domain‑based email address, configure SMTP with a reputable provider, and add the provider’s SPF and DKIM records to your DNS. Avoid overly promotional language in automated emails, and periodically check your spam folder while things settle.
6. Can I launch my website without SEO set up?
You can, but you shouldn’t. At minimum, install and configure Rank Math or another SEO plugin, set your basic titles and meta descriptions, and ensure your XML sitemap is ready to submit to Google Search Console. This is low effort, high impact.
7. When should I hire an expert to handle my website launch?
Hire an expert like Devbo when:
- You’re changing hosts or platforms
- Your existing site has SEO value you don’t want to lose
- You don’t feel comfortable with DNS, SSL, or email delivery
- Launch is time‑sensitive and you cannot afford missteps
The cost of a professional launch is usually far lower than the cost of a broken contact form, lost rankings, or downtime.
8. How much does a professional website launch or migration typically cost?
Pricing varies based on complexity (number of pages, e‑commerce, SEO depth, email setup, etc.), but a straightforward small‑business launch or migration is typically in the hundreds to low thousands of dollars. Devbo can scope this quickly on a short call once the current situation is understood.
Your Website Launch Doesn’t Have to Be Scary
A website launch can feel intimidating—but with a clear, basic website launch checklist focused on DNS, SSL, email, SEO, and performance, it becomes a controlled, predictable process.
You now have:
- A step‑by‑step flow you can follow or hand to your implementer
- A way to avoid the big landmines like contact forms not sending, WordPress email going to spam, and broken redirects
- Clear lines for when it’s smarter to bring in a professional
If you’re comfortable with the steps, use this guide as your go‑live playbook.
If you’d rather have a team handle this for you, Devbo can manage the entire launch—from staging on yoursite.devbo.digital to DNS, SSL, SEO, and SMTP—so your small business site goes live smoothly and starts generating leads right away.
Book a quick call with Devbo to get a second set of eyes on your launch plan or to hand off the whole process.